

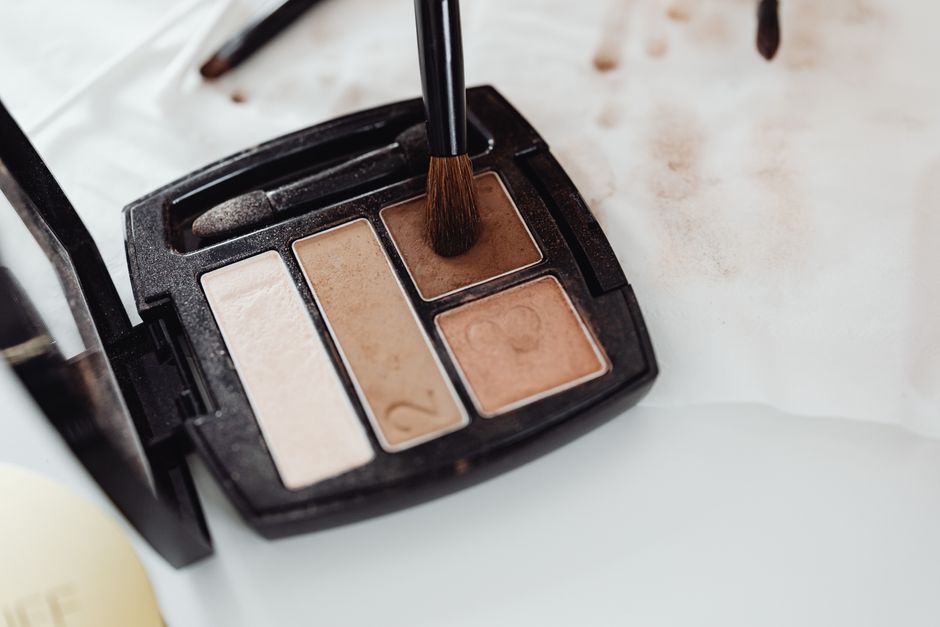
Skincare Prep for Makeup
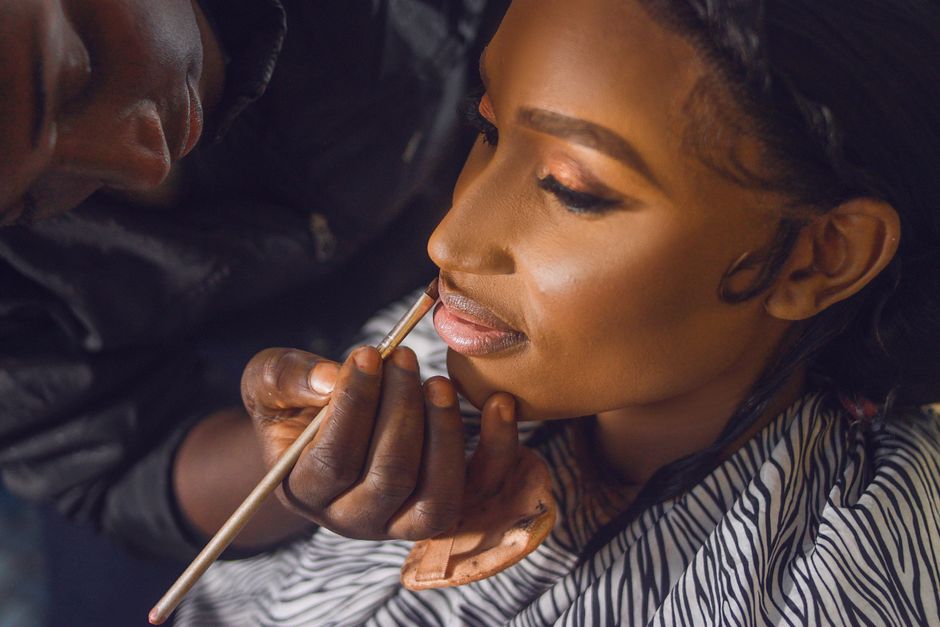
Every flawless soft glam look starts long before you open your concealer. A smooth, well-prepped canvas is the single most important step in face-beating mastery, and skipping it is the number-one reason makeup looks cakey or fades fast. Begin by cleansing your skin with a gentle, pH-balanced formula to wash away overnight oils and any residue. Follow with a hydrating toner applied with clean hands or a soft cotton pad, sweeping it gently across your face in upward strokes. This step tightens pores and balances your skin’s texture so everything that goes on top sits evenly.
Once your toner has fully absorbed, apply a lightweight moisturizer that suits your skin type. If you have dry skin, reach for something with hyaluronic acid or ceramides; if your skin skews oily, a gel-based formula absorbs without adding extra shine. Give it two to three minutes to sink in. Then, regardless of the time of day, apply a broad-spectrum sunscreen with at least SPF 30. Sun protection is non-negotiable for long-term skin health, and it also creates a smooth, slightly grippy surface that helps makeup cling where it should. Let that dry for another minute before moving on.
The final prep step is primer. A pea-sized amount of a smoothing or pore-blurring primer worked gently across the T-zone and any areas with fine lines creates a velvety base that extends how long your makeup lasts. Some formulas add a subtle glow, which is perfect for the luminous quality of soft glam. The key is to pat, not rub, so the product fills in pores and creates an even texture rather than piling up.
- Cleanse → tone → moisturize → sunscreen → primer for a flawless base
- Let each product fully absorb before layering the next
- Choose a primer that matches your skin’s specific needs
Quick pick: Compare top-rated Makeup Tutorial options.
Base and Concealer Application
Now comes the foundation phase of your soft glam face-beating routine, and the goal here is sheer to medium coverage that lets your natural skin texture show through. Squeeze a small amount of foundation onto the back of your hand — this classic artist’s trick lets you warm the product up slightly so it blends more smoothly. Use a damp makeup sponge or a dense flat foundation brush to stipple the product onto your skin in gentle pressing motions rather than dragging it across. Pressing forces the foundation into your pores and fine lines for a more natural, second-skin finish.
Concealer comes next, but resist the urge to cake it on. Dot a small amount under your eyes in an inverted triangle shape — this classic technique brightens the under-eye area while also visually lifting the midface. Use a tiny, pointy brush or your ring finger to gently tap concealer directly onto any blemishes or redness around the nose and chin. Your ring finger is ideal because it applies the least pressure, preventing the concealer from being rubbed away as you blend. Blend everything with a lightly damp sponge using small bouncing motions.
After blending, dust a translucent loose setting powder across your T-zone and under your eyes with a fluffy powder brush. For soft glam, keep the powdering light — you want to cut shine without obliterating the natural luminosity underneath. A pressed powder compact is handy for quick midday touch-ups, but the loose powder gives a softer, airbrushed result during initial application.
- Warm foundation on the back of your hand before applying
- Use a damp sponge for sheer, skin-like coverage
- Set with translucent loose powder — focus on oily zones only
| Product Type | Best For | Finish |
|---|---|---|
| Liquid foundation | Normal to oily skin | Natural, buildable coverage |
| Cream foundation | Dry to combination skin | Dewy, smoothing finish |
| Stick foundation | Quick application, all skin types | Medium to full coverage |
| Tinted moisturizer | Minimal coverage days, healthy skin | Sheer, dewy glow |
Eye Makeup Techniques
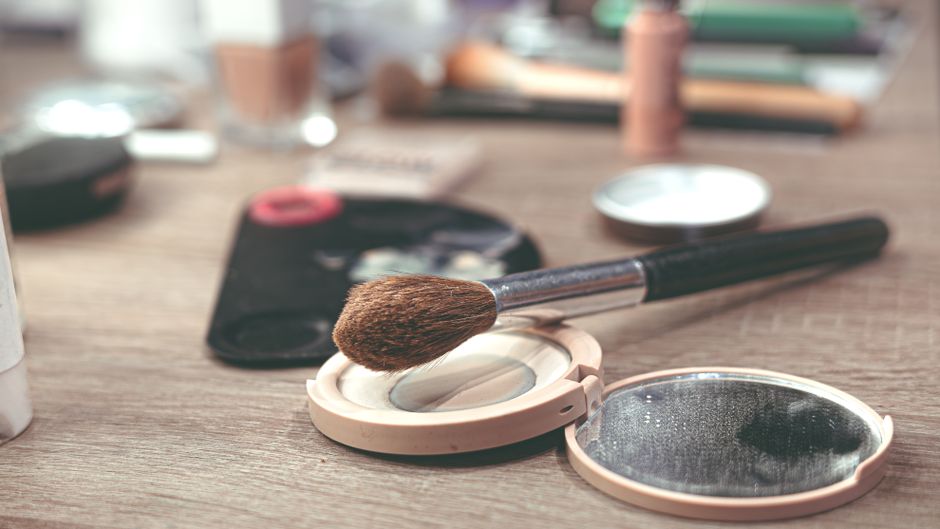
The eyes are where soft glam makeup really earns its name — this look calls for dimension and warmth without the drama of a dark smoky eye. Start by applying a neutral matte eyeshadow one shade lighter than your natural skin tone across the entire lid as a base. This evens out any discoloration and gives the subsequent shades something to grip onto. Then, take a slightly deeper warm neutral shade and sweep it into your crease using a fluffy blending brush, rocking the brush back and forth in small windshield-wiper motions. The goal is a soft gradient, not a harsh line — blend, blend, and blend again.
For the outer corner, add a taupe or soft brown shade in a smaller windshield-wiper motion to deepen the crease without going too dark. Soft glam is all about subtlety, so resist reaching for your darkest shade. Instead, take a clean blending brush and gently diffuse any harsh edges to create that seamless, professional-looking transition. Pat a shimmery champagne or warm gold shade onto the center of your lid with your fingertip for a hint of radiance that catches the light beautifully.
Eyeliner in soft glam should be subtle and refined. A brown pencil liner along the upper lash line, smudged slightly with a small smudge brush, defines the eyes without the harshness of black. For the lower lash line, use the same pencil to draw a thin line and then soften it with a damp Q-tip for a lived-in, smoky effect. Finish with two coats of a lengthening mascara, wiggling the wand at the roots first to coat the lashes and then pulling upward to the tips. The mascara should open up the eyes and frame them without looking overdone.
- Build neutral shadows in layers, blending each transition zone
- Use brown liner instead of black for a softer, warmer effect
- Wiggling the mascara wand at the lash line adds natural-looking volume
Brow Shaping and Filling
Brows are the framing of your face, and in soft glam makeup, they should look full, natural, and softly defined rather than drawn-in or blocky. Begin by brushing your brows upward and outward with a spooley brush to see their natural shape. Use small brow scissors or a slanted razor to trim any long strays that fall above your natural arch line — trimming opens up the eye area and makes everything look more polished. Never over-pluck; the trend has firmly moved toward fuller, brushed-up brows.
For filling, choose a brow pencil one shade lighter than your hair color for a natural effect. Using short, hair-like strokes, fill in any sparse areas along the bottom of the brow first, following your natural arch. Then, use the same pencil or a slightly lighter brow powder to fill in the inner portion of the brow more softly. The key is pressure — light, feathery strokes mimic real hair, while heavy pressing creates the dreaded drawn-on look. Brush through with a clean spooley to blend the product and distribute it evenly.
Finally, lock everything in place with a clear or slightly tinted brow gel. Run the spoolie brush through the brows in an upward motion, laying down any rogue hairs and sealing the product underneath. This step alone can take your brow game from amateur to professional in seconds, and it ensures your shape holds up through an eight-hour day without needing constant touch-ups.
- Trim long strays before filling to maintain a clean arch
- Use short, hair-like strokes with a brow pencil
- Set with clear brow gel for all-day hold
Cheek Makeup Application
Cheeks are where the soft glam glow really shines — a healthy, lit-from-within flush that mimics the look of wind-kissed skin or a post-workout radiance. Cream blush is the gold standard for this step because it melts into the skin and creates the most natural flush. Tap a small amount of a warm peach or soft rose cream blush onto the apples of your cheeks with your ring finger, then blend outward and slightly upward toward the temple with a damp sponge. The apples of the cheeks are the pointiest area when you smile, and blending upward follows your bone structure for a more sculpted result.
After the cream blush has had a moment to set, apply a powder blush in the exact same placement using a fluffy cheek brush. This layering technique builds the color gradually and adds staying power without looking heavy. For a truly polished soft glam cheek, choose a blush shade that mimics your natural flush — test it by pinching your cheek and selecting a shade close to that rosy color.
Contour should be subtle in soft glam. Use a cool-toned matte bronzer or contour powder and apply it in the hollows of your cheeks, sweeping from the ear toward the mouth corner in a diagonal downward motion. Blend thoroughly with a clean fluffy brush so there are no harsh stripes. For the highlight, apply a subtle champagne or soft gold cream highlighter to the tops of your cheekbones with your fingertip, patting it gently into place. This creates that coveted glass-skin glow without looking glittery or overdone.
- Cream blush first, powder blush second for layered staying power
- Contour should be subtle — cool-toned and well-blended
- Apply cream highlighter to the tops of the cheekbones for a luminous finish
Lip Makeup Techniques
Lips complete the soft glam look with color and definition that feels cohesive rather than tacked-on. Exfoliate your lips the night before with a gentle lip scrub or a warm washcloth swept across the lips in circular motions to remove any dry skin. Apply a hydrating lip balm and let it absorb fully before you begin your lip color application. Smooth, well-hydrated lips hold lipstick evenly and prevent the dreaded patchy fade.
For soft glam, a satin or semi-matte lipstick in a warm rose, dusty mauve, or peachy-nude shade is the ideal choice. Line your lips first with a lip liner that matches your lipstick shade or runs one shade deeper — this step prevents feathering and gives you a clean canvas to work from. Trace the natural lip line and slightly overline only in the cupid’s bow if needed for balance, but resist the urge to drastically overdraw the corners. Fill in the entire lip with the liner for a base that extends the wear time of your lipstick.
Apply your lipstick directly from the bullet or use a lip brush for more precision. Blot with a tissue and apply a second coat for richer color payoff. To get that soft, just-kissed look, blot again and dust a tiny amount of translucent powder across your lips — this mattifies the finish just slightly while keeping the lips comfortable. For a touch of dimension, add a clear or tinted lip gloss to the center of the bottom lip only, dabbing it gently so it stays in place rather than bleeding outward.
- Exfoliate lips the night before for a smooth, even canvas
- Line first, then fill in before applying lipstick
- A second coat and light powdering extend wear time significantly
Setting Spray for a Long-Lasting Finish
You’ve done the work — now lock it all in. Setting spray is the final and absolutely non-negotiable step in any face-beating routine, and it does far more than just prevent smudging. A few spritzes of a quality setting spray melt all of your layered products together into a seamless, skin-like finish rather than a layered, caked-on look. Hold the bottle about eight to ten inches from your face, mist your face in an X pattern, and let it air dry completely without fanning or touching your face.
One of the biggest mistakes beginners make after applying setting spray is touching their face repeatedly throughout the day. Every time you rest your chin on your hand, touch your cheeks, or wipe your forehead, you’re transferring and smearing your makeup. If you have an oily T-zone, keep pressed powder sheets or a matte blot card in your bag instead of using your fingers — dab gently rather than rubbing to absorb excess shine without disturbing the makeup underneath.
Reapplication is another key to longevity. If you need to refresh your makeup after several hours, spritz your face with setting spray first, then gently press a pressed powder compact over any areas that have broken down, rather than powdering over dry skin. This technique revives rather than rebuilds, keeping the soft glam finish intact all day and night.
- Mist setting spray in an X pattern from eight to ten inches away
- Let air dry completely without touching your face
- Use blotting papers instead of fingers to manage shine throughout the day
Frequently Asked Questions (FAQ)
What is the difference between a primer and a moisturizer?
A moisturizer hydrates and nourishes your skin, while a primer creates a smooth, grippy surface on top of your moisturizer specifically to help makeup adhere, blur pores, and last longer. Both are essential steps in any face-beating routine, applied in that order — moisturizer first, primer second.
How can I make my makeup look more natural?
The key to natural-looking makeup is building coverage in thin layers rather than applying one heavy coat. Use a damp makeup sponge, choose sheer-to-medium formulas, and blend everything thoroughly at the edges. Subtle cream products like blush and highlighter also read as more natural than heavily powder-painted formulas.
What are some tips for applying makeup for beginners?
Start with good skincare prep — it is the foundation of everything. Work in thin layers and blend as you go rather than trying to fix everything at the end. Invest in quality brushes and a damp makeup sponge, and practice your technique slowly. Soft glam makeup in particular rewards patience and subtle layering over heavy-handed application.
Explore more makeup tutorial guides on our site.
Top Product Recommendations
| Product Name | Rating | Key Feature | Est. Price | Action |
|---|---|---|---|---|
| Best Makeup Tutorial Pick | ★★★★★ | Top-rated overall | $25–$45 | Check Lowest Price on Amazon |
| Budget Makeup Tutorial Option | ★★★★☆ | Great for beginners | $12–$28 | Check Lowest Price on Amazon |
| Premium Makeup Tutorial Choice | ★★★★☆ | Pro-level results | $50–$90 | Check Lowest Price on Amazon |
Affiliate Disclosure: This post contains affiliate links. We may earn a commission if you buy through our links, at no extra cost to you.