
Master the Art of Eye Shadow Blending
Eye shadow blending is the foundation of any great eye look, and the secret lies in using the right tools and technique. Start by applying a transition shade in your crease using a fluffy blending brush—this loosens texture and creates a soft gradient where colors meet. Work from the outer corner inward with small, circular motions, building intensity gradually rather than layering pigment all at once. A domed crease brush lets you sculpt the shape while a flat shader brush packs color onto the lid without disturbing what you’ve already blended.
The reason this hack works so well is that most beginners skip the transition shade entirely and go straight for bold color. Without that mid-tone bridge, dark and light shades collide in a harsh line instead of flowing together. Using a separate brush for each step prevents color contamination and gives you precise control over where each shade lives. With a little practice, you’ll be able to blend three or four shades together in under two minutes.
**Tools that help:**
- Fluffy blending brush (domed tip)
- Tapered crease brush
- Flat shader brush
- Transition shade in matte finish
—
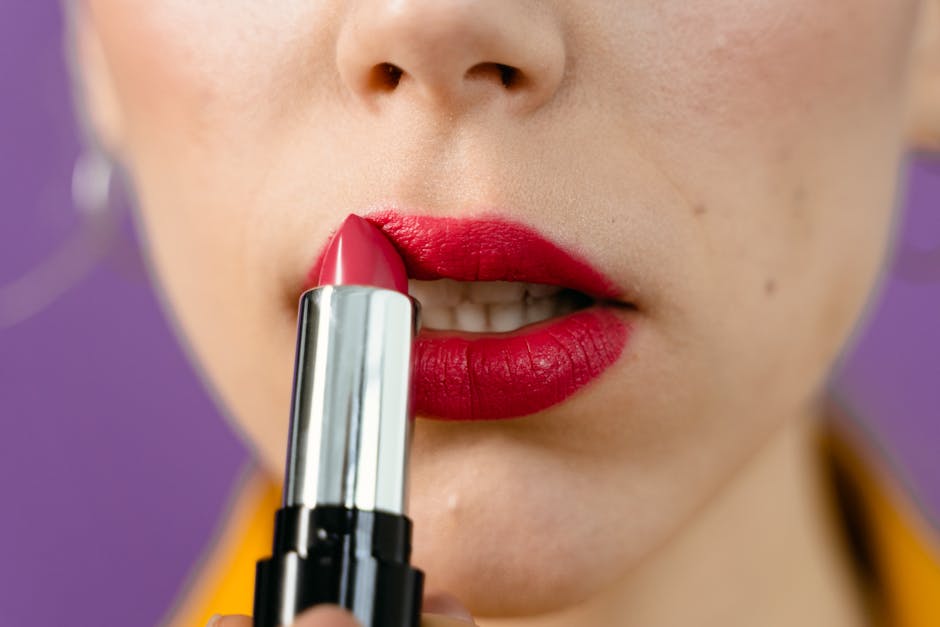
Shape Your Lips Like a Pro with a Lip Liner
Lip liner is one of the most underrated tools in any makeup routine, yet it completely transforms the look of your lips. The key is choosing a liner shade that matches your natural lip color or your lipstick—going darker creates an obvious ring effect that looks dated. Trace along your natural lip line first, then fill in the entire lip area before applying lipstick on top. This creates a smooth base that prevents feathering and extends the wear time of your color by hours.
This hack works because the liner acts as a primer for your lipstick, creating a slightly tacky surface for the color to grip onto. When you line and fill, you’re essentially creating a stained effect that shows through even as the top layer of lipstick fades. For the most natural result, slightly overline only the areas you want to add definition to—never draw outside your lip line by more than a millimeter. The precision of a fine-point liner tip gives you control that broad pencils simply can’t match.
**Tools that help:**
- Fine-point lip liner pencil
- Matching or slightly deeper lipstick shade
- Lip brush for blending
—
Build Flawless Skin with Primer and Foundation
The order in which you apply foundation and primer matters more than most people realize. Apply primer first on clean, moisturized skin—give it about 30 seconds to settle before smoothing foundation on top. Use a damp makeup sponge to stipple rather than drag, working from the center of your face outward. This technique fills in pores and fine lines while building sheer-to-medium coverage that looks like your skin, only better.
Primer works by creating a barrier between your skin’s natural oils and your foundation, preventing the two from mixing and breaking down throughout the day. A silicone-based primer smooths texture and blurs imperfections, while a water-based primer hydrates and plumps. Matching your primer formula to your foundation formula is the single most impactful thing you can do for longevity. When these two layers are compatible, your makeup stays fresh from morning coffee through late-night plans.
**Tools that help:**
- Silicone or water-based primer (matched to foundation)
- Damp makeup sponge
- Foundation brush or flat-top Kabuki brush
—
Lock Your Eyeliner in Place
Eyeliner that smudges and migrates is one of the most frustrating makeup problems, but the fix is surprisingly simple. Set your liner with a matching eyeshadow shade applied immediately after—the eyeshadow absorbs the emollients that cause liner to slip. For pencil liner specifically, warm the tip between your fingers for a few seconds before applying—it glides on smoother and adheres better to the lashline. Waterproof formulas resist transfer, but they need a clean, dry lid to adhere properly.
The reason this hack works is that most eyeliners contain waxes and oils that stay soft until they cool and set on your skin. Without that setting step, body heat and natural oils from your eyelids break down the formula within an hour. Pressing a dark shadow over your liner does double duty—it absorbs excess oils and bonds with the liner to create a more durable layer. This technique extends wear time by four to six hours without any special products.
**Tools that help:**
- Waterproof eyeliner pencil or liquid pen
- Matching matte eyeshadow
- Angled eyeliner brush
—
Sculpt Perfect Brows with the Right Pencil Technique
Brows frame your face, and the difference between polished and overdone comes down to technique rather than product. Use short, hair-like strokes to fill in sparse areas—never drag the pencil in a solid line across your brow. Start at the arch and work toward the tail, building density where your natural brows are thinnest. A spoolie brush is essential for blending the pigment and distributing it evenly through your natural hairs.
The secret to natural-looking brows is layering three elements: a light fill at the front, a medium tone through the body, and small hair strokes near the tail. This gradient effect mimics how real hair grows denser in some areas and sparser in others. Choose a pencil shade that matches your natural brow color—if your brows are dark brown, go one shade lighter rather than darker. A waxy brow formula can look too uniform, while a pencil’s crisp application gives you control over every stroke.
**Tools that help:**
- Brow pencil with fine tip
- Spoolie brush
- Brow gel for hold
- Shade one lighter than your natural brow color
—
Apply Mascara Without Clumps or Smudges
Mascara clumping happens when the wand picks up too much product and deposits it in thick, spiky clumps. The fix is to wipe off the excess mascara on the inside of the tube—scraping both sides of the wand against the opening removes the excess that causes clumping. Apply one coat, let it dry for 30 seconds, then wiggle the wand at the root before pulling through to the tip. This coats every lash evenly and builds separation rather than glopping product onto the tips.
A curved mascara wand is specifically designed to reach every lash from root to tip in a single stroke, but the real secret is in the application motion. Start at the root and wiggle side to side as you pull upward—this fans the lashes and prevents them from sticking together. For lower lashes, hold the wand vertically and sweep along the lash line with the tip. Clumping usually happens when you pump the wand in and out of the tube, introducing air that dries the formula unevenly.
**Tools that help:**
- Volumizing or lengthening mascara (fresh tube)
- Lash separator comb
- Curved mascara wand
—
Perfect Your Concealer Every Single Time
Concealer done wrong creates a ghostly look that draws attention to the very flaws you’re trying to hide. The correct technique is to apply concealer in an inverted triangle under your eye, not just a half-moon arc. This shape brightens the entire under-eye area, lifts the face, and avoids the stark line where concealer ends and foundation begins. Use a small detail brush or your ring finger to dab concealer along the inner corner, where darkness is most concentrated, and blend outward.
This hack works because darkness pools in the inner corners first and radiates outward—covering just the arc misses the deepest discoloration. Setting your concealer with a translucent powder is non-negotiable for longevity; without it, the concealer creases within an hour and settles into fine lines. Use a light hand with the powder—just one press-and-roll motion with a damp beauty sponge prevents cakiness while setting the product. A concealer one to two shades lighter than your foundation creates natural-looking brightening without looking ashy.
**Tools that help:**
- Concealer with buildable coverage
- Small detail brush or ring finger
- Translucent setting powder
- Damp beauty sponge
—
Nail the Perfect Winged Eyeliner Look
Winged eyeliner intimidates even experienced makeup users, but the tape trick makes it foolproof. Place a small piece of tape at the outer corner of your eye, angling it slightly upward toward the end of your brow—use scotch tape or washi tape, which removes easily without residue. Draw your line along the edge of the tape, then connect it to your lashline with a gentle sweep. Peel away the tape and you’ll have a crisp, clean wing every time.
The reason this hack works is that it replaces freehand precision with a physical guide that takes the guesswork out of angles and proportions. Most people struggle with winged liner because they try to draw the wing and the line simultaneously—separating these steps gives you control over each element individually. For beginners, a felt-tip liner pen offers more control than a brush dipped in liquid—it’s essentially like writing with a fine-tip marker. Once you’ve built muscle memory with the tape guide, you won’t need it anymore.
**Tools that help:**
- Felt-tip liquid liner pen
- Tape (washi or low-tack)
- Angled brush for gel liner
- Q-tip with makeup remover for cleanup
—
Apply False Lashes Like a Specialist
False lashes can look obviously fake when they’re applied incorrectly, but the right technique makes them indistinguishable from your own. Measure the strip against your lash line and trim the excess from the outer edge—almost everyone needs to trim both ends. Apply a thin line of lash glue along the band, wait 30 seconds until the glue becomes tacky, then position the strip as close to your natural lash line as possible. Use tweezers or the back of a pencil to press the band down from the center outward.
Tacky glue adheres much better than wet glue, which slides around and creates gaps between the strip and your lashline. Bending the strip gently in a U shape before applying softens the band and makes it conform to the curve of your eye. After pressing down, apply a thin line of liquid eyeliner along the seam to fill any visible gaps—this step alone makes false lashes look like they grew from your lashline. With a little practice, the entire process takes under three minutes.
**Tools that help:**
- Individual or strip lashes
- Latex-free lash glue
- Tweezers or lash applicator
- Liquid eyeliner for seam coverage
—
Make Lipstick Last All Day
Lipstick that fades within an hour is a solvable problem, and the solution involves both prep work and the right application sequence. Exfoliate your lips with a gentle scrub or a warm washcloth to remove dead skin—this creates a smooth surface for color to grip onto. Apply a thin layer of lip balm, let it absorb for two minutes, then blot it off completely. Apply your lipstick, blot with a tissue, dust with translucent powder through a single-ply tissue, then apply a final layer of color.
This layered technique works because each step builds a barrier that slows the rate at which the color fades. The translucent powder sets the first layer of lipstick and creates a matte surface for the second layer to adhere to without feathering or bleeding. Lip liner worn underneath as a base extends wear time even further—fill your entire lip with liner before applying lipstick, and the color lasts significantly longer than it would on bare lips.
**Tools that help:**
- Lip exfoliator or warm washcloth
- Hydrating lip balm
- Lip liner matching your lipstick
- Translucent setting powder
—
Frequently Asked Questions (FAQ)
What are the most common makeup mistakes these hacks can fix?
Most makeup issues stem from three root causes: applying too much product, skipping the blending step, and using mismatched formulas. These makeup hacks address each one by breaking techniques into individual steps that are easier to master. The lip liner hack prevents feathering, the eyeshadow blending technique eliminates harsh color lines, and the primer hack ensures your foundation stays put. Small adjustments in technique often produce bigger improvements than buying expensive products.
How do I keep my makeup looking natural and not overdone?
Natural-looking makeup starts with matching shades to your skin tone and building coverage gradually. Instead of applying full coverage everywhere, concentrate product in the center of your face and let it sheer out toward the edges. Blending well is more important than the products you choose—a single well-blended eyeshadow looks more polished than five shades that haven’t been properly blended. The goal is enhancement, not transformation.
Are these makeup hacks suitable for all skin types and skin tones?
Yes—these techniques are universal principles that apply regardless of your skin type, skin tone, or experience level. Adjustments in product choice matter: those with oily skin should opt for oil-control primers and powder foundations, while those with dry skin benefit from cream and liquid formulas. The core techniques—blending, layering, setting—work for every complexion. Always patch-test new products and give your skin time to adjust when trying something new.
| Comparison Table: Makeup Hacks and the Tools They Need | ||
|---|---|---|
| Hack | Key Tool | Why It Works |
| Eye Shadow Blending | Fluffy blending brush | Creates smooth color gradients |
| Lip Shaping | Fine-point lip liner | Precise application, extended wear |
| Flawless Foundation | Damp makeup sponge | Builds sheer, even coverage |
| Long-Lasting Eyeliner | Waterproof formula + shadow | Sets liner, prevents migration |
| Perfect Brows | Brow pencil + spoolie | Hair-like strokes, natural blend |
| Smudge-Free Mascara | Curved wand + separation | Even coating, zero clumps |
| Concealer Application | Inverted triangle shape | Full under-eye brightening |
| Winged Eyeliner | Felt-tip pen + tape | Foolproof angles every time |
| False Lash Application | Tweezers + tacky glue | Seamless attachment |
| Long-Lasting Lipstick | Exfoliation + layering | Builds durable color base |
Top Product Recommendations
| Product Name | Rating | Key Feature | Est. Price | Action |
|---|---|---|---|---|
| Top-rated fluffy blending brush for eye shadow | ★★★★★ | Editor-recommended fluffy blending brush for eye shadow from this guide | $18–$42 | Check Lowest Price on Amazon |
| Best-value fine point lip liner pencil | ★★★★☆ | Affordable fine point lip liner pencil — strong everyday results | $12–$28 | Check Lowest Price on Amazon |
| Premium damp makeup sponge | ★★★★☆ | Higher-end damp makeup sponge for visible, lasting results | $45–$95 | Check Lowest Price on Amazon |
Affiliate Disclosure: This post contains affiliate links. We may earn a commission if you buy through our links, at no extra cost to you.