Top 3 Product Recommendations
| Product Name | Rating | Key Feature | Est. Price | Action |
|---|---|---|---|---|
| Maybelline Lash Sensational Mascara | Amazon Best S r | Amazon beauty bests r — volume without clumps | $9–$12 | Check Lowest Price on Amazon |
| La Roche-Posay Toleriane Cleanser | Amazon Best S r | Top-rated gentle face wash for US sensitive skin | $15–$18 | Check Lowest Price on Amazon |
| CeraVe Moisturizing Cream | Amazon Best S r | #1 bests r — dermatologist-recommended barrier repair | $17–$19 | Check Lowest Price on Amazon |
Prepping Your Canvas: Skincare Steps That Make or Break Your Beat
Your skincare routine directly determines how your makeup performs throughout the day. Skipping moisturizer causes foundation to cling to dry patches and separate in your T-zone by noon. A dehydrated base emphasizes texture and creates an uneven, cakey appearance that no amount of blending can fix.
The three-minute primer hack that transforms longevity involves applying a thin layer and letting it set completely before touching foundation. Choose hydrating primers with hyaluronic acid if you have dry skin, or mattifying silicone-based formulas if you’re oily. This barrier keeps oils from breaking down your base and prevents makeup from sliding off.
Eye cream application timing matters more than most people realize. Apply it at least five minutes before eyeshadow so the area isn’t slippery. Puffy or overly moisturized lids cause shadow to crease and refuse to blend smoothly.
Quick fixes for flaky skin include gentle exfoliation the night before and a hydrating sheet mask in the morning. Pat a facial oil into problem areas, let it absorb for two minutes, then blot excess before priming. This prevents foundation from clinging to dead skin and emphasizes texture you’re trying to hide.
Building a Flawless Base: Foundation and Concealer Techniques
Application method completely changes your foundation finish. Brushes provide buildable coverage and work well for oily skin but can show streaks if you’re not careful. Damp beauty sponges create an airbrushed, natural look by bouncing product into skin rather than dragging it across the surface. Fingers work surprisingly well for sheer, skin-like coverage and warm the product for easier blending.
Color-matching requires testing foundation on your jawline in natural light, not your hand or wrist. Your face and neck often have different undertones than your arms. The correct shade disappears into your skin without leaving a line of demarcation.
Layering thin coats instead of one thick application prevents the heavy, mask-like appearance that screams “too much makeup.” Start with a sheer layer, assess coverage, then build only where needed. This technique looks natural in person and photographs beautifully without flashback.
Strategic concealer placement lifts and brightens instead of just covering dark circles. Apply in an inverted triangle under your eyes, extending down to your cheekbones. This reflects light upward and makes your entire face look more awake. Use a shade one to two tones lighter than your foundation for this brightening effect.
Foundation oxidation happens when the oils in your skin mix with your makeup and darken the pigment. Combat this by using a mattifying primer on oily areas, setting your base immediately with powder, and choosing oil-free or long-wear formulas specifically designed to resist color shift.
Editor’s pick: hydrating face primer with hyaluronic acid — see current prices and reviews.
Compare hydrating face primer with hyaluronic acid on Amazon
Eye Makeup That Pops: Shadow, Liner, and Lash Mastery
The cut-crease technique adapts to every eye shape when you customize the placement. For hooded eyes, place the crease color slightly above your natural fold so it’s visible when your eyes are open. Deep-set eyes need lighter transition shades to bring the eye forward. Protruding eyes benefit from deeper crease shades that create the illusion of depth.
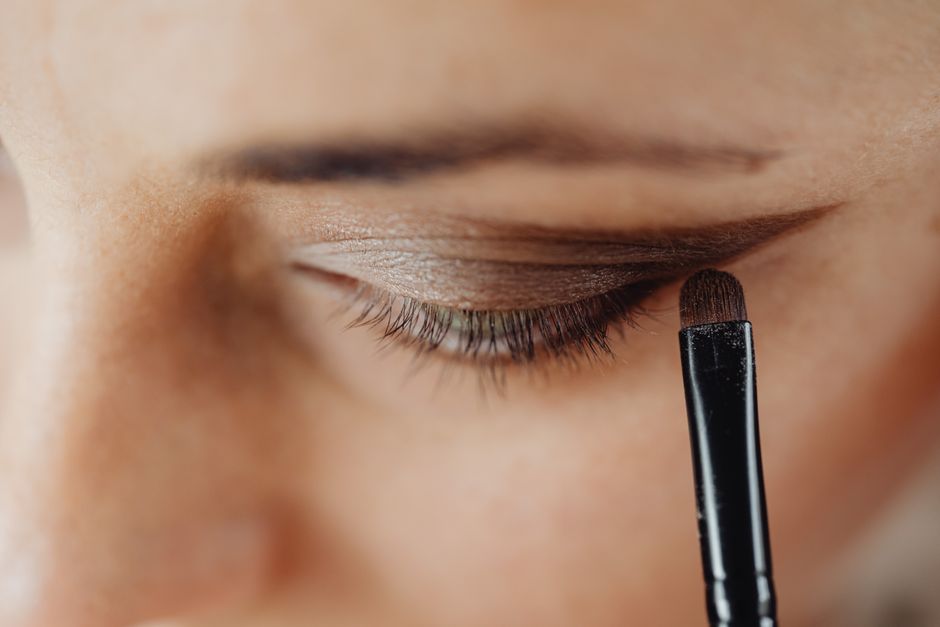
Transition shade placement creates dimension by bridging the gap between your lid color and skin tone. Apply it in your crease and slightly above using windshield-wiper motions with a fluffy brush. This prevents harsh lines and makes bold colors look intentional rather than messy.
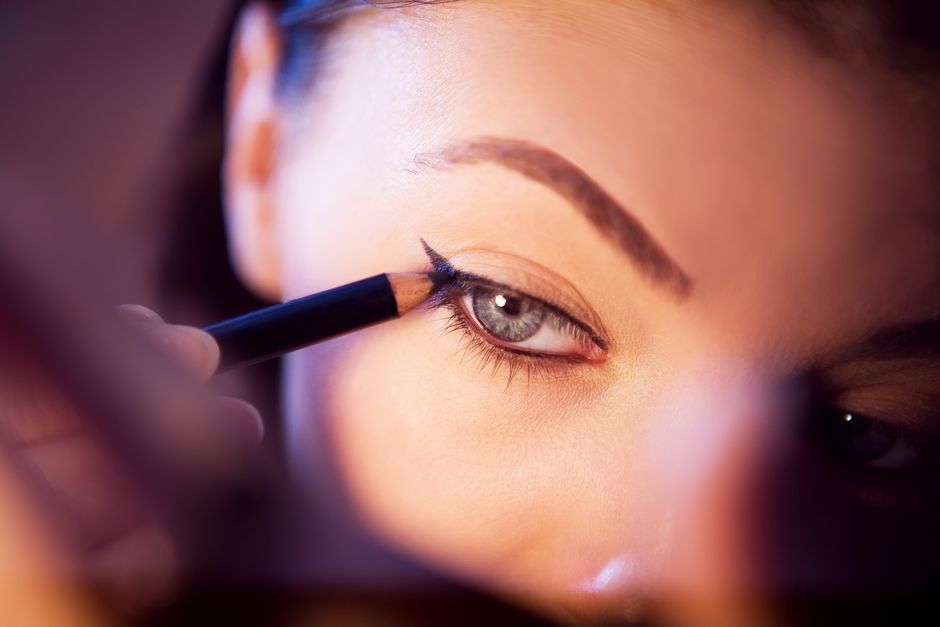
Winged liner for asymmetrical eyes requires mapping both eyes first with small dots, then connecting them. If one eye is more hooded, adjust the wing angle upward on that side. For droopy lids, keep the wing shorter and more horizontal to lift the eye optically.
Preventing eyeshadow fallout starts with tapping excess powder off your brush before application. Do your eye makeup before foundation, or hold a tissue under your eye to catch fallout. Setting spray on your brush before applying shimmer shadows eliminates fallout completely.
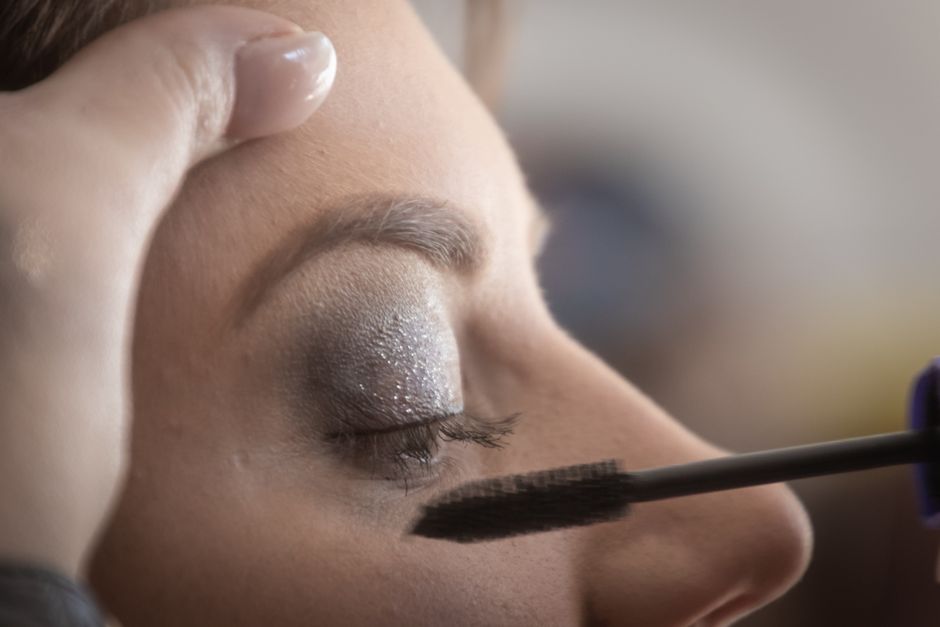
Mascara layering without clumping requires the wiggle-wait-repeat method. Wiggle the wand at the base of your lashes, pull through to the tips, then wait thirty seconds for the first coat to dry. The second coat adds drama without creating spidery clumps because you’re not disturbing wet product.
Brow Shaping and Filling for a Polished Frame
Mapping your natural brow arch prevents over-plucking and blocky shapes that look unnatural. Hold a straight object from the side of your nose through your pupil—that’s where your arch should peak. Your brow should start directly above your inner eye corner and end at a diagonal line from your nose through your outer eye corner.
Powder works best for sparse brows that need soft definition without looking drawn on. Pomade creates bold, Instagram-style brows with sharp edges and works for thick brows that need taming. Pencil offers the most control for hair-like strokes and filling gaps precisely.
Feathering strokes mimic real hair by following your natural growth pattern with light, upward flicks. Never draw a solid line across your brow. Start lighter at the inner corners and gradually increase pressure toward the tail for a natural gradient.
Setting brows with a clear or tinted gel keeps them lifted and prevents fading throughout the day. Brush hairs upward and outward in the direction you want them to stay. For extra hold, spray your spoolie with hairspray first, but use this technique sparingly to avoid stiffness.
Correcting over-filled brows doesn’t require starting over. Use a clean spoolie to brush through and soften harsh lines. Dab concealer on a small brush to erase mistakes along the edges and sharpen the shape without removing all your work.
Sculpting and Blushing: Contour and Color Placement
Face-shape-specific contour maps ensure you’re enhancing your natural bone structure rather than fighting it. Round faces need contour along the sides of the forehead and under the cheekbones to create angles. Oval faces can contour lightly along the hairline and jawline. Square faces should soften the jaw corners. Heart-shaped faces need contour along the temples and chin point.
Blending contour until it looks like real shadows requires a clean, fluffy brush and patience. Use circular motions to diffuse edges completely—you should see a gradual fade, not a stripe. The goal is subtle definition that looks like natural shadowing, not painted-on mud.
Choosing blush tones that complement your undertone prevents clashing with lip color and looking washed out or clownish. Cool undertones suit pink and berry shades. Warm undertones glow with peach and coral. Neutral undertones can wear both, but dusty rose works universally.
Highlighter placement on the high points of your cheekbones, down the bridge of your nose, and on your cupid’s bow enhances bone structure without looking oily or disco-ball shiny. Apply with a light hand and build gradually. Cream highlighters look more natural for daytime while powder formulas photograph beautifully.
Avoiding the Instagram contour look for everyday wearability means using less product than you think you need. What looks good in photos with ring lights and filters often appears harsh in natural light. Aim for “no-makeup makeup” contour by placing product only where natural shadows fall and blending thoroughly.
Lip Perfection: Lining, Filling, and Long-Lasting Color
Overlining techniques enhance your natural lip shape without looking fake when you follow your actual lip line and extend only one to two millimeters beyond. Focus on the center of your upper lip to create fullness and slightly overdraw the outer corners to widen your smile. Never outline far beyond your natural edge—this creates an obvious, clownish ring.
Preventing lipstick from bleeding into fine lines starts with exfoliating and moisturizing your lips during your skincare routine. Apply lip balm, let it absorb, then blot before lining. Lip liner creates a barrier that stops color from feathering. Set your lipstick by blotting with tissue, dusting translucent powder through the tissue, then applying a second coat.
Matte finishes last longer and work well for thinner lips because they don’t emphasize lines. Glossy finishes plump the appearance of lips but require more frequent touch-ups. Satin formulas offer a compromise—comfortable wear with moderate longevity and a natural sheen.
Blotting and reapplying for all-day color involves applying one coat, blotting with tissue, dusting powder through the tissue, then applying a second coat. This layering technique sets the pigment and can last through meals and drinks with minimal fading.
Fixing uneven pigmentation requires lip primer or a nude lip liner all over your lips before applying color. This creates an even base that helps pigment distribute uniformly. For crisp, defined edges, clean up around your lip line with concealer on a small brush after applying lipstick.
Locking It All In: Setting Sprays and Powder Strategy
Baking involves applying a thick layer of translucent powder to areas prone to creasing—under eyes, around the nose, center of the forehead—and letting it sit for five to ten minutes while you finish other makeup. This sets concealer into a crease-free, matte finish. Light dusting works better for dry skin or natural looks, using a fluffy brush to barely dust powder over your T-zone only.
Setting spray application patterns seal makeup without disturbing layers when you hold the bottle eight to ten inches from your face and mist in an X and T pattern. Let it dry naturally without touching your face. The spray melts powder and cream products together for a seamless, long-lasting finish.
Avoiding a cakey, powdery finish while controlling shine requires using powder only where you get oily—typically the T-zone. Leave dry areas untouched or use setting spray only. Press powder into skin with a damp sponge rather than sweeping it on, which deposits too much product and emphasizes texture.
Touch-up strategies for midday refresh work without piling on more product when you blot oil with blotting papers first, then lightly dust powder only where needed. Avoid applying more foundation, which layers and cakes. A hydrating mist refreshes and revives your makeup without adding weight.
Testing your makeup’s longevity before important events means doing a full trial run and wearing it for at least eight hours. Take photos in different lighting to see how it photographs. This reveals any oxidation, creasing, or fading issues so you can adjust products or techniques before the actual event.
Common Makeup Mistakes and How to Fix Them Fast
Cakey foundation happens when you apply too much product, have dry skin, or skip primer. Quick fixes include spritzing your face with setting spray or facial mist and pressing it in with a damp beauty sponge to meld the layers together. This rehydrates the makeup and eliminates that powdery, textured appearance.
Harsh contour lines soften when you use a clean, fluffy brush to blend the edges in circular motions, then lightly dust translucent powder over the area to diffuse it further. If it’s still too dark, press foundation or concealer on top and re-blend.
Smudged eyeliner requires a cotton swab dipped in micellar water for precise corrections without ruining surrounding eyeshadow. Hold the swab at an angle and gently swipe away mistakes. Touch up with concealer if needed, then reset with powder.
Patchy lipstick stems from dry, flaky lips or uneven application. Exfoliate with a sugar scrub or soft toothbrush, moisturize, then apply lip liner all over before lipstick. This creates grip for the color and fills in gaps. Layer thin coats instead of one thick swipe.
Flashback from SPF or powder shows up as a white cast in photos with flash because certain ingredients reflect light back at the camera. Avoid products with high concentrations of zinc oxide, titanium dioxide, or silica when you’ll be photographed. Switch to flash-friendly, HD formulas specifically designed for cameras.
Makeup Tools and Brushes Every Beginner Needs
Essential brush shapes include a fluffy blending brush for eyeshadow transitions, a flat shader brush for packing on lid color, an angled liner brush for precise application, a foundation brush or beauty sponge for base, a fluffy powder brush for setting, and an angled contour brush. These six tools cover all basic techniques.
Cleaning and maintaining brushes prevents breakouts, bacterial buildup, and product performance issues. Wash face brushes weekly and eye brushes every two weeks with gentle shampoo or brush cleaner. Swirl in your palm, rinse thoroughly, reshape the bristles, and lay flat to dry. Never dry brushes upright—water seeps into the ferrule and loosens the glue.
Budget-friendly tool alternatives perform like high-end options when you focus on brush density and fiber quality rather than brand names. Drugstore brands offer exc nt synthetic brushes that work beautifully with cream and liquid products. Test brushes in-store by feeling softness and checking for shedding.
Replace sponges every one to three months depending on usage frequency because they harbor bacteria even with regular cleaning. Brushes last years with proper care, but replace them when bristles become sparse, splayed, or start shedding excessively. Mascara wands should be discarded with the mascara every three months.
Organizing your kit in a clear acrylic organizer or divided drawer makes efficient application possible and simplifies travel. Group products by category—face, eyes, lips—and keep brushes upright in holders or a brush roll. This prevents damage and helps you locate products quickly during your routine.
Choosing Products for Your Skin Type and Tone
Matching foundation undertones prevents the ashy, orange, or pink-toned results that make your makeup look like a mask. Cool undertones have pink or red hues and suit foundations with pink or neutral bases. Warm undertones have yellow or golden hues and need yellow or olive-toned foundations. Neutral undertones have a mix and can wear both, but true neutral foundations work best.
Oil-control formulas for combination and oily skin types contain mattifying ingredients like silica, kaolin clay, or salicylic acid that absorb excess sebum throughout the day. Look for long-wear or matte-finish foundations and set them with powder to maximize longevity.
Hydrating and luminous products for dry or mature skin include foundations with hyaluronic acid, glycerin, or oils that provide moisture while offering coverage. Cream and liquid formulas work better than powder, which emphasizes fine lines and dry patches. Dewy finishes create a youthful, healthy glow.
Sensitive skin ingredient red flags include fragrance, alcohol, essential oils, and certain preservatives like parabens that commonly trigger reactions. Hypoallergenic swaps focus on mineral-based makeup with minimal ingredients—zinc oxide and titanium dioxide foundations, iron oxide colorants, and fragrance-free formulas.
Testing products before committing saves money and prevents reactions. Request samples from beauty counters or buy from retailers with generous return policies. Sephora and Ulta allow returns of used products within thirty to sixty days. Test foundation on your jawline in natural light and wear it for a full day before deciding.
Adapting Your Look from Day to Night
Building on a simple daytime base for evening drama requires only a few strategic additions rather than completely redoing your face. Your foundation and concealer stay intact—you’re just intensifying certain features for more impact under artificial lighting.
Intensifying eye makeup means adding darker shades to your outer corner and crease, smoking out your lower lash line with pencil or shadow, and applying false lashes or another coat of mascara. Glitter or shimmer on the inner corner or center of the lid adds dimension that catches light beautifully at night.
Lip color transitions from nude to bold take seconds when you blot off your daytime shade and apply a deeper color in the same undertone family. If you wore nude pink during the day, switch to berry. If you wore peachy nude, go with a brick red or deep coral.
Adding shimmer and glow strategically for nighttime impact means applying highlighter to the high points of your face with a heavier hand than daytime. Dust shimmer eyeshadow over your matte daytime shadow or add a glitter topper. A metallic lip gloss over matte lipstick creates instant drama.
Time-saving hacks for quick transformations include keeping a small evening makeup kit in your bag with a dark eyeshadow, liquid liner, bold lipstick, mascara, and highlighter. These five products can transform any daytime look in under five minutes without needing to start from scratch.
Staying Current: 2026 Makeup Trends and Timeless Techniques
Balancing trendy looks like glass skin or soap brows with classic application means understanding which trends enhance your features and which are purely aesthetic experiments. Glass skin—dewy, luminous, poreless-looking skin—works beautifully if you have good skin texture but looks greasy on oily skin types. Soap brows—brushed-up, fluffy, laminated-looking brows—suit thick brows but make sparse brows look unfinished.
Social media makeup versus real-life wearability reveals a huge gap between what looks good on camera and what works in person. Heavy contour, intense highlighting, and over-drawn features photograph beautifully but often appear costume-like in natural light. Adapt by using seventy-five percent less product than influencers show and blending twice as much.
Adapting runway and editorial looks for everyday use involves taking the concept—like a bold lip or graphic liner—and simplifying it. A runway model’s neon cut-crease becomes a softer wash of bright shadow. An editorial glossy red lip becomes a sheer red stain. Translate the inspiration, not the exact execution.
Recognizing which trends suit your features prevents wasting time and products on looks that won’t flatter you. Monochromatic makeup—using one color family on eyes, cheeks, and lips—works universally. Extreme trends like bleached brows or facial gemstones require specific face shapes and personal style to pull off successfully.
Building a signature style instead of chasing every viral technique gives you consistency and confidence. Identify what you love—maybe a bold lip, defined brows, or glowing skin—and perfect those elements. Your signature look should enhance your best features and feel authentically you, not like you’re wearing a costume.
Frequently Asked Questions
How long should a full face-beating makeup routine take for beginners?
A: A complete beginner routine averages thirty to forty-five minutes from skincare prep to final setting spray. This includes time for primer to set, careful blending, and correcting mistakes. As you develop muscle memory and refine your technique, you’ll naturally speed up to twenty to thirty minutes. On rushed mornings, you can achieve a polished look in fifteen minutes by skipping elaborate eye looks and focusing on skin, brows, mascara, and lips. Natural makeup takes fifteen to twenty minutes, medium glam takes thirty to forty minutes, and full face-beating with cut-crease and detailed work takes forty-five to sixty minutes.
What’s the best order to apply makeup products?
A: The standard sequence is skincare, primer, then you choose between eyes-first or face-first. Many professionals do eyes before foundation because eyeshadow fallout is easier to clean up before your base is perfect. If you choose eyes-first, the order is: primer, eyeshadow, eyeliner, mascara, then foundation, concealer, powder, contour, blush, highlighter, brows, lips, and setting spray. If you do face-first: primer, foundation, concealer, powder, eyes, brows, contour, blush, highlighter, lips, setting spray. There’s no universal rule—the method that prevents you from disturbing finished work is correct. Some cream products blend better over foundation while powder products apply more precisely on bare skin.
How do I prevent my makeup from looking cakey or heavy?
A: Skincare moisture balance forms the foundation of lightweight application—dehydrated skin grabs and emphasizes product. Apply thin layers of foundation and build coverage gradually instead of applying one thick coat that sits on top of skin. Choose formulas that match your skin type: oil-free for oily skin, hydrating for dry skin. Setting techniques matter enormously—use powder only where you need oil control, typically the T-zone, and press it in with a damp sponge rather than sweeping it on. Setting spray melts layers together and eliminates that powdery, cakey texture. If your makeup looks heavy, spritz with setting spray and press it in with a damp beauty sponge to sheer out the coverage and create a skin-like finish.
Can I achieve a professional makeup look with drugstore products?
A: Absolutely—application technique matters far more than price point in achieving professional results. Drugstore brands have dramatically improved quality in recent years and often match or exceed luxury performance in certain categories. Mascara, eyeliner, and brow products work beautifully at lower price points with minimal difference from prestige brands. Foundation and concealer show more variation, but exc nt options exist—test shades in-store and check return policies. Splurge on tools like quality brushes and beauty sponges since these directly impact blending and application. Mixing price points strategically builds an effective kit: drugstore mascara and liner, mid-range foundation, affordable brushes. Focus your budget on products you use daily and perfect your technique through practice and tutorials.
Product Essentials for Face-Beating Success
| Product Category | What to Look For | Why It Matters |
|---|---|---|
| **Hydrating Face Primer** | Hyaluronic acid, glycerin base | Creates smooth canvas, prevents foundation separation |
| **Beauty Blending Sponge** | Latex-free, expands when wet | Seamless foundation application without streaks |
| **Fluffy Eyeshadow Brush Set** | Soft synthetic or natural bristles | Essential for blending and preventing harsh lines |
| **Long-Wear Setting Spray** | Alcohol-free, fine mist | Locks makeup for 12+ hours without disturbing layers |
| **Translucent Setting Powder** | Finely-milled, colorless formula | Controls oil without adding color or texture |
Mastering face-beating makeup in 2026 comes down to preparation, proper technique, and patience with the learning process. Your skincare creates the foundation for everything that follows—never skip moisturizer or primer. Building your base in thin layers prevents the cakey, heavy appearance that screams amateur. Eye makeup transforms your entire look, so invest time in learning blending techniques that create dimension rather than muddy color.
The key to natural-looking contour and highlight is restraint and thorough blending until you see gradual fades instead of stripes. Your lip game improves dramatically when you exfoliate, line, and layer color properly. Setting your work with the right combination of powder and spray ensures your beat lasts from morning coffee to late-night events.
Common mistakes like harsh lines, cakey foundation, and patchy color all have quick fixes when you know the techniques. Essential tools don’t require huge investments—focus on brush quality and versatility rather than collecting every specialty item. Matching products to your skin type and tone prevents the frustration of formulas that fight your natural skin behavior.
Adapting your look from day to night takes only minutes when you build on existing makeup instead of starting over. Stay current with trends but recognize which techniques flatter your features versus which are purely for the camera. Your signature style develops through experimentation and repetition, not by copying every viral look you see online.
With practice, your thirty-minute beginner routine will shrink to fifteen minutes of effortless application. The investment in learning proper face-beating techniques pays off in confidence, versatility, and the ability to create any look you envision. Start with the basics, perfect one technique at a time, and remember that even professional makeup artists started exactly where you are now.
Explore more makeup tutorial guides on our site.
Affiliate Disclosure: This post contains affiliate links. We may earn a commission if you buy through our links, at no extra cost to you.
Leave a Reply